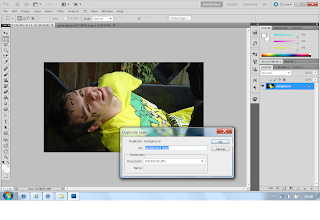
I have used Photo Shop to put together our album pack. It was quite simple really once i got the hang of it because i have had some experience with photo shop processes but very basic ones. I did actually make another album cover with the same idea but found out that we weren't allowed to use it as the images weren't actually our own. This wasn't much of a problem as i was used to using photo shop by then to do what was needed, so it didn't take all that long to change, although it was a bit annoying as we all decided to to use images off the video itself but this created a problem as the quality of the photos weren't up to scratch, so after making the front and back again, i wasn't satisfied to i started from scratch. Luckily, during filming we had taken some photos of the cast acting which came in very handy as it gave me a better quality of picture to work with, we were quite short of these so i have used some behind the scene photos but this isn't all that obvious to the audience but even if it was it gives them a more personal experience. Before i did anything i had to make a 12 x 12 inch canvas to be the back ground of the image, i then added a dirty white color for the background so it made the outline of the Polaroid more easier to see. Then i was able to get sorted on the editing the pictures. Firstly, I found a picture of a Polaroid off Google and simply cut the original image out and incorporated our own images into the picture after giving them a Polaroid, warming effect.
 I then changed the duplicated layer to 'Soft Light', which added a more unnatural dark light, that you see in some Polaroid photos.
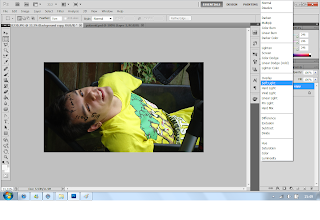 I then added a new fill layer and changed the color to a very dark navy blue, which covered the duplicated and background layer until i set the layer to 'Exclusion', this gave the photo a blue effect as well as making it look quite warm due to the 'Soft Light'.
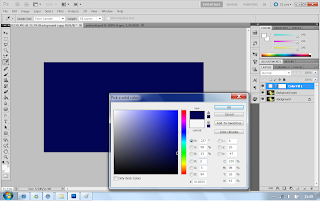 By this stage if was happy with the look of the photo i then copied it into the Polaroid frame, but if not i had to add a new layer, this time a 'Level' layer, i then tweeted the light level of the picture until i was satisfied, this his was only done on a few images due to the darkness of the original photo.
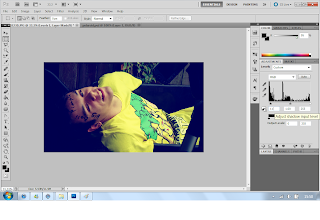 When the image was set in the Polaroid frame it was just a case of copying the image into the 12 x 12 background and then making it a bit wonky to make it fit the idea. As you can see this is the original pictures used are boring and don't look anything like a Polaroid photo, i have added a picture to show the end product after the effects have been added. The pictures in particular were used in the middle of the digi pack in 'Behind the scenes of break up sex'.

No comments:
Post a Comment